Sunday, 14 April 2013

Chairman Mao's Red Braised Pork


After reading Fuschia Dunlop's "Shark's Fin & Sichuan Pepper - A sweet-sour memoir of eating in China" whilst still living in Hong Kong, I enjoyed it so much that I went to my local wet market, bought a 2lb slab of pork belly, the required ingredients and hurried home to make Chairman Mao's Red-Braised Pork.

Upon arriving home, I went through the recipe again but decided that I'd experiment with the spices based on my knowledge of the local wet markets.  In addition to the star anise, red chillies and cassia bark used in Fuschia's recipe, I added 2 bay leaves, 2 pieces of sand ginger, 1 small piece of tangerine peel, 1 slice of dried licorice root, 1 clove and 3 white peppercorns. I also used brown slab sugar instead of white sugar with only a teaspoon of white sugar at the final stage of cooking and a drizzle of dark soy sauce for colour.  The end result was absolutely amazing! If you haven't read Fuschia's book I highly recommend it. To buy a copy of Fuschia's book click here.

Back in Australia, I find the pork belly is much thinner and fattier than the cuts I used to buy in Hong Kong.  Also, it's quite expensive.  I experimented by using a pork forequarter roast that cost $14 a kilo and it worked perfectly.

If you want to achieve that lovely deep red colour add some red fermented bean curd. This is the same ingredient that gives traditional Cantonese Cha Siu (BBQ Pork) its gorgeous red hue.
Chairman Mao's Red Braised Pork (without the water chestnuts)
Serves 4
500g/1 lb 2 oz belly pork (skin optional)
2 tbsp groundnut oil
2 tbsp white sugar
1 tbsp Shaoxing wine
20 g/3/4 oz fresh ginger, skin left on and sliced
1 star anise }
2 dried red chillies
a small piece cassia bark or cinnamon stick
light soy sauce
salt and sugar
a few lengths of spring onion greens
Plunge the belly pork into a pan of boiling water and simmer for 3 to 4 minutes until partially cooked. Remove, and when cool enough to handle, cut into bite-sized chunks. Heat the oil and sugar in a wok over a gentle flame until the sugar melts, then raise the heat and stir until the melted sugar turns a rich caramel brown. Add the pork and the Shaoxing wine. Add enough water to just cover the pork, along with the ginger, star anise, chillies and cassia. Bring to the boil, then turn down the heat and simmer for 40–50 minutes. Towards the end of the cooking time, turn up the heat to reduce the sauce and season with soy sauce, salt and a little sugar to taste. Add the spring onion greens just before serving.
From 'Revolutionary Chinese Cookbook' by Fuchsia Dunlop (Ebury Press)


Saturday, 13 April 2013

Homemade Cha Siu Bao (Steamed BBQ Pork Buns)

Homemade Cha Siu Bao (Steamed BBQ Pork Buns)

When I lived in Hong Kong I reckon I belonged to some exclusive dim sum society as I absolutely adored drinking delicate jasmine or a lovely Pu-er/ Bolay tea and snacking on the most amazing selection of delightful sweet and/or savoury treats you could ever imagine.  I loved visiting the Jumbo Floating Restaurant and Luk Yu Tea House but more often than not you would find me at my local haunt the Lin Heung Tea House at 160-164 Wellington Street Central.  This restaurant is one of the oldest tea houses in Hong Kong and one of the most busiest - without a 'gweilo' in sight - except for me.  I'd sit next to complete strangers on a little stool and would briskly walk over to the dim sum cart when it came out of the kitchen to see what was on offer.  My favourite savoury snacks included Cha Siu Bao, Beef Balls, Har Gow (Shrimp Dumpling), Cheung Fan (Rice Noodle) and Sui Mai.  

Before I left Hong Kong I made sure that I stocked up on some bilingual Cantonese cook books so that when I felt like a hit of dim sum I could pull one of them out with the hope of reproducing them.

This weekend, I decided to make Cha Siu Bao from a book called "Chinese Buns".  As I read through the recipe however, I hit my first major problem - the bun dough includes two key ingredients that are next to impossible to buy on the Australian market i.e. lye water (an alkaline liquid that is extremely caustic) and ammonia bicarbonate.  These two ingredients are crucial to achieving a white, fluffy, springy dough and that amazing split when the bun is steamed, so although I was keen to make them I knew before I even started that it was impossible to get the same result that I was used to eating in Hong Kong - damn!

Two days before I started, I made a sour dough starter which I'll call the "1st Fermentation".  The next day I used some of this starter to make another sour dough "the 2nd Fermentation" and today I made the actual bun dough and the pork filling.  Although, I'm going to post photo's I'm not going to post a recipe just yet as I wasn't happy with how this one went.  I followed it to a 'T' with exception of the lye water and ammonia bicarbonate but there was far too much pork thickening and not enough dough.  So I've popped the pork filling/thickening into the freezer and will make another batch of dough some time in the future.  Next time I'm going to try fresh yeast with baking powder to see how that goes so watch this space. 
Just made - the 2nd Fermentation sour dough 
The 2nd Fermentation after about 24 hours
The Cha Siu Filling
Whilst I was making the Cha Siu Bao my youngest gorgeous girl was practicing how to make them by using a small ball of dough as the filling. 
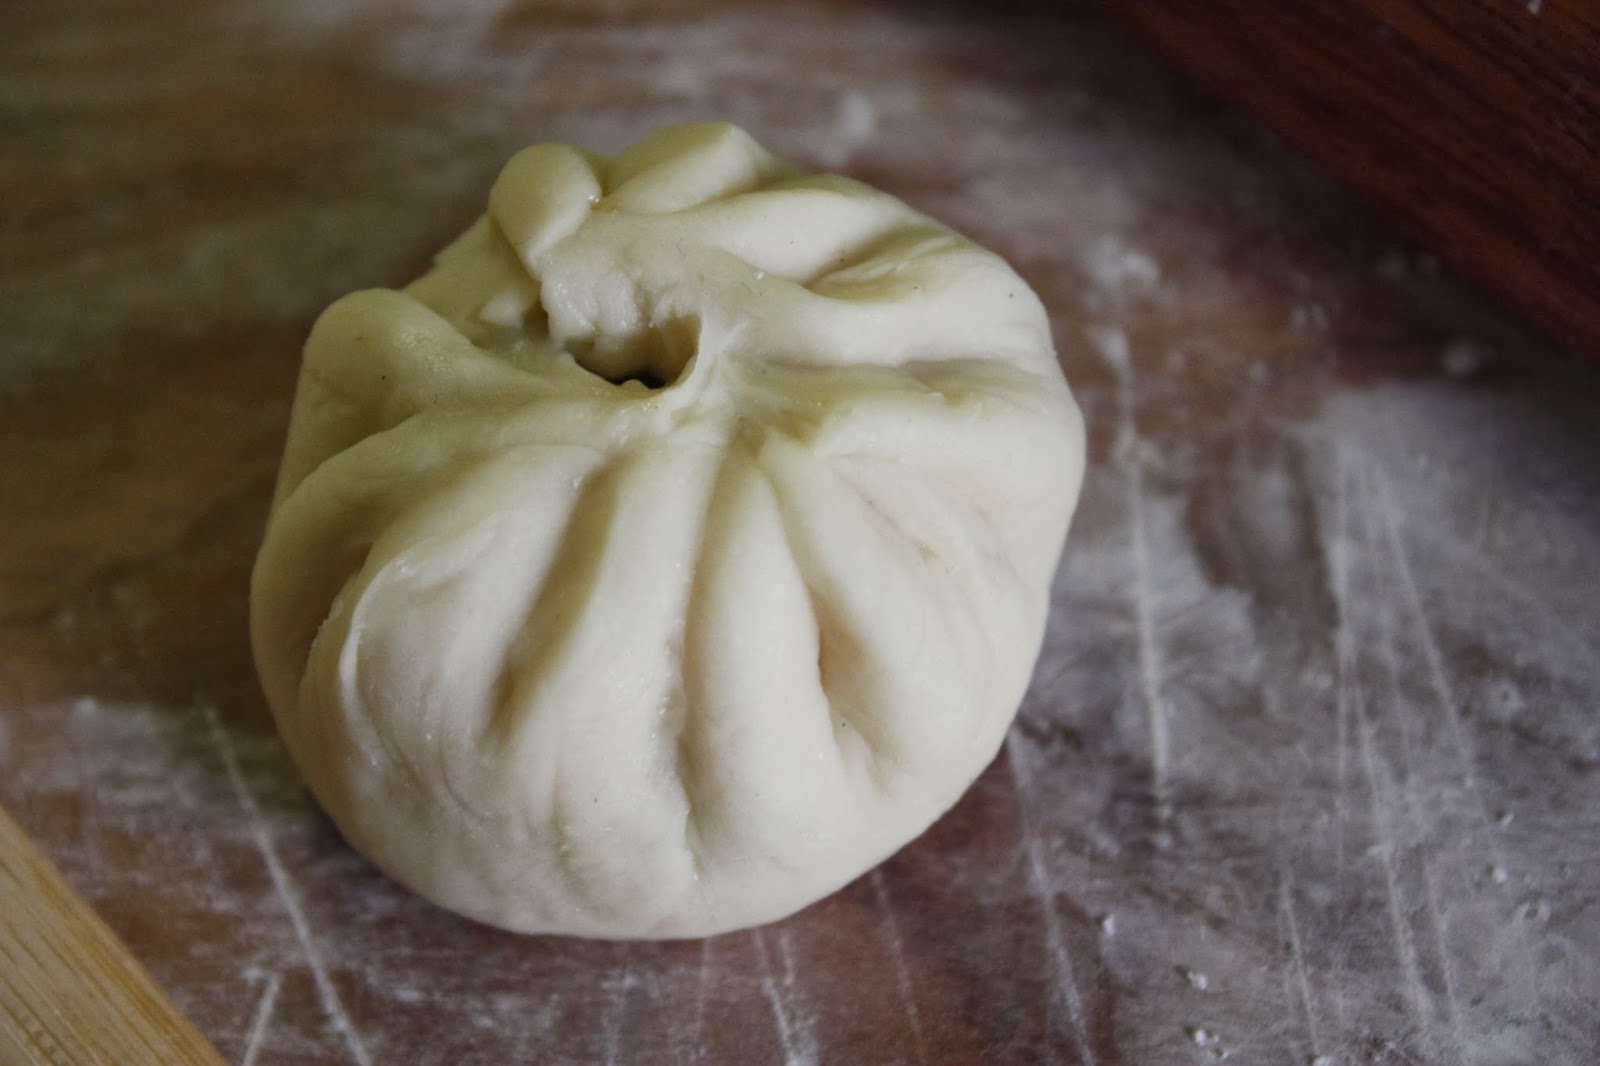
My youngest gorgeous girl's very first attempt at making Cha Siu Bao after practicing with dough! 
My little dumpling princess in action.

Sunday, 7 April 2013

Chinese Style White Cut Poached Chicken

I've been very very bad, I know that I should have made dumplings of some sort this weekend for dearest Emily at http://emilycookingforays.blogspot.com.au but instead I made Chinese style white-cut poached chicken... sorry Em :(
Prepare the Chicken
Wash a corn fed chicken (preferably free range) in water inside and out and pat dry with paper towel. Remove the chicken fat from inside the cavity and place in a small stainless steel bowl.  Rub the following ingredients inside the chicken:

1 tablespoon ginger juice (grate the ginger and squeeze out the juice to obtain desired amount)
1 tablespoon shaoxing wine
1 teaspoon sugar
a pinch of white pepper

Bruise 1 spring onion and 3 slices ginger and also place this in the cavity.  Set both the chicken fat and the chicken aside.
This is how I make ginger juice 
Poaching Liquid
To a large stock pot add:

3.5 litres cold water

3/4 cup shaoxing wine
1 tablespoon light soy sauce
3 cloves garlic
4 slices ginger
2 spring onions
1 small lump yellow rock sugar (about the size of a teaspoon)
yellow rock sugar
Bring the poaching liquid to the boil then turn off the heat.  Add the chicken, breast-side down and make sure that it's fully submerged - put the lid on.  After 30 minutes turn the heat onto high and bring the poaching liquid back to a near boil.  During this time tilt the chicken whilst still in the poaching liquid to empty the cavity and re-fill it with the just near boiled poaching liquid to ensure that the insides cook through.  Turn the heat off again and pop the lid back on.  Leave the chicken in the poaching liquid for another 25-30 minutes then plunge the chicken into ice water to stop the cooking process and seal in the juices.
Drain the chicken and place onto a serving plate then rub the following ingredients all over the top:
1 tablespoon light soy sauce
1 teaspoon sesame oil
1/2 teaspoon salt  

Cover the chicken with aluminum foil and allow to cool.  Strain the poaching liquid and reserve for the chicken rice (below).  When the chicken is cool, remove from the plate and place onto a chopping board.  Section into small pieces then place back onto the serving plate. 


Rendered Chicken Fat
Sorry lovely ladies - not an attractive sight
After you place the chicken in the poaching liquid get to work with rendering the chicken fat so that it's ready about the same time your chicken is cooked.  You will use this fat and some of the poaching liquid to make chicken rice.

Bring some water to the boil in a small saucepan and place the small stainless steel bowl containing the chicken fat over the top.  Let it simmer away until the fat renders down - this can take up to an hour.  Remember to refill your saucepan periodically with boiling water from your jug so that the saucepan doesn't run dry! Discard any solid pieces of fat when done.

This chicken fat has been rendering down for about 20 minutes 
Chicken Rice
Pour a drizzle of the rendered chicken fat into a non stick pan and gently fry 1 clove crushed garlic and 1 slice finely minced ginger until golden.  Remove and set aside.

Pour the remaining rendered chicken fat into the non-stick pan and add 3 cups of jasmine rice.  Gently fry until the rice absorbs the chicken fat and the grains are slightly translucent.  Remove and pour the rice into a rice cooker.  Add the cooked garlic and ginger and 1/2 teaspoon chicken powder.  Pour enough of the strained poaching liquid into the rice cooker until it comes up to one joint on your index finger then follow your rice cooker instructions.  Cook the rice until light and fluffy.


Ginger Sauce
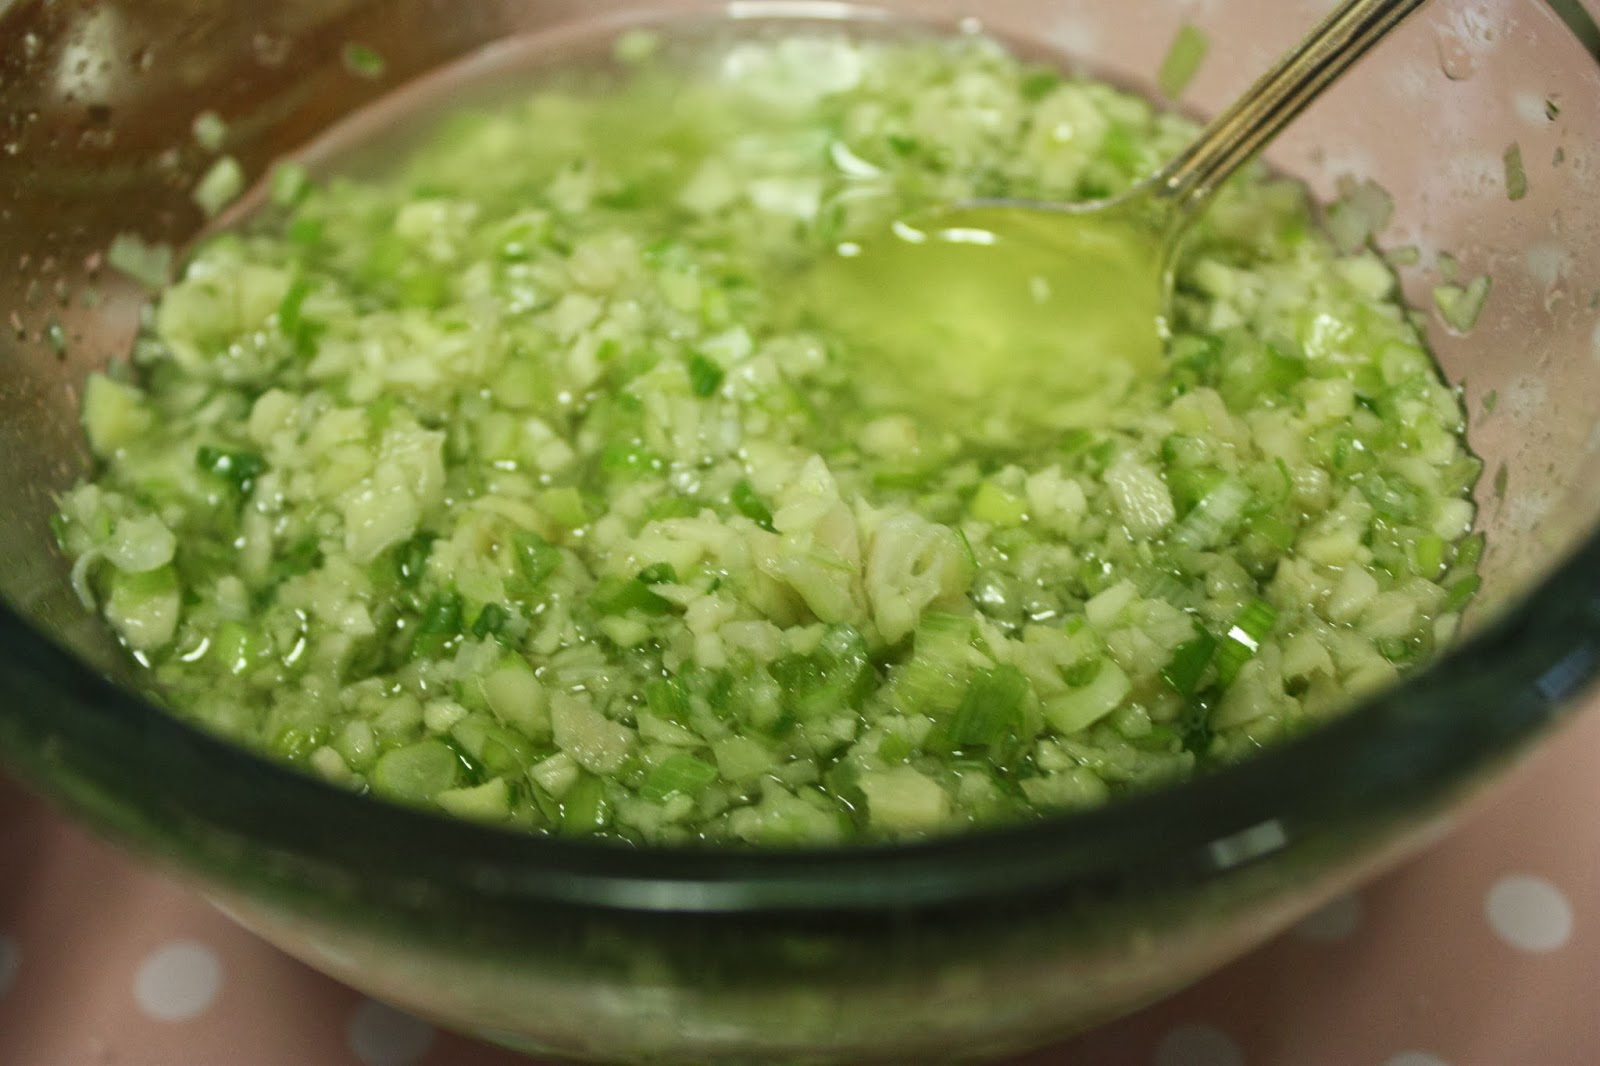
Place about 3/4 cup of finely chopped ginger and 3/4 cup of finely chopped spring onion into a small bowl.  Heat 3/4 cup peanut oil until sizzling then pour over the top of the ginger and spring onion.  Allow to cool.

Serve by placing the chicken rice into individual bowls, top with poached chicken and drizzle the ginger sauce over the top.  Add slices of cucumber (optional).  


I also served my poached chicken with a  chilli dipping sauce but I've only kept the recipe to the ginger sauce so that you don't have to make yet another recipe :)

Sunday, 17 March 2013

Pork Dumplings with Hand Made Wrappers

Making dumplings for the first time can prove a little tricky but with tips and a bit of practice you'll be making your own in no time.  Pop them into the freezer and you have a delicious snack that you can prepare quickly.  My gorgeous girls love them and they are great for tots.... mmmmmmmmmmmmm.

If you  have a cleaver, go to your local butcher and ask for pork belly and try mincing your own meat, this way you will end up with a spongey, moist filling that is flavoursome and juicy instead of dry.  
Chinese cooks use two cleavers to mince their meat but I only feel comfortable using one thanks very much!
Here we are aiming for half fat and half lean pork so that the fat renders down whilst cooking and keeps the filling moist.
Slice the ginger then fan it out and shred it finely.
In a fan type motion with your knife or cleaver, dice the ginger finely in a similar way that you'd finely chop herbs.
Mix hot water into the flour first before adding cold so that the water cooks the flour and it ends up looking like this.  This is an important step as the hot water helps to make the dough elastic and it is easier to fill your dumpling wrappers.
Keep kneading the dough just like bread so that it ends up looking like the dough below.
Here, the gluten has started to relax and the dough is still soft and a little sticky.  Try not to spread too much flour on your working surface or you will lose the stickiness in the dough.  If you have to use a little flour only use cornflour otherwise, plain flour and the like will be absorbed into the dough and make it unmanageable.
Cut the dough into portions and cover them in plastic wrap ready for use.
Roll the portion of dough into a long rope and cut with a plastic scraper, similar to gnocchi.  Notice that there isn't too much flour on the work surface.
 Press the piece of dough down with the palm of your hand, cut surface facing up, so that a circle is formed then roll the wrapper as above.  I have a dim sum rolling pin but you can go to your local hardware store and have a small bit of wood cut to suit.  
When you fill the dumpling it is important to leave a a rim so that you can fold and pleat the wrapper.  Oops, in the above photo I dredged the dumplings with too much cornflour which made it difficult to pleat and seal the wrapper - not good.
To form the dumpling, fill the wrapper, fold it in half then pinch the right hand corner.  Start pleating the front side of the wrapper whilst pinching against the back of the wrapper and there you have it.  Notice that I haven't dredged the bench or dumpling with much cornflour and the result is a lot better.

Pork Filling
300g pork mince 
2 tablespoon sesame oil
1 tsp sugar
1 tsp salt
1 tsp shao xing wine
1 tsp light soy sauce
1/2 tsp white pepper
3 large slices ginger chopped finely (I don't normally measure the ginger and put lots in for health benefits)
1 1/2 tsp cornflour

Marinate the pork with the sesame oil, sugar, salt, shao hsing wine, light soy sauce and pepper for 20 minutes then add the finely chopped ginger and cornflour. Mix well to combine. Set aside.

Dumpling Wrapper
300g plain flour
1 tsp sesame oil
2/3 cup hot water
1/3 cup cold water
cornflour for dredging (see photo's and tips above)

Sift flour into a bowl then add the sesame oil and hot water.  Mix together with a pair of chopsticks.  Add the cold water a little at a time until the dough forms then knead until smooth.  Cover with cling wrap and allow to rest for 10 minutes.
Cut the dough into portions.  Roll each dough portion into a rope and cut with a plastic scraper similar to gnocchi. Use cornflour sparingly to dredge the dumplings (if required) to prevent them from sticking to the bench top.
Press the piece of dough down with the palm of your hand, cut surface facing up, so that a circle is formed then roll the wrapper - see photo's above.  

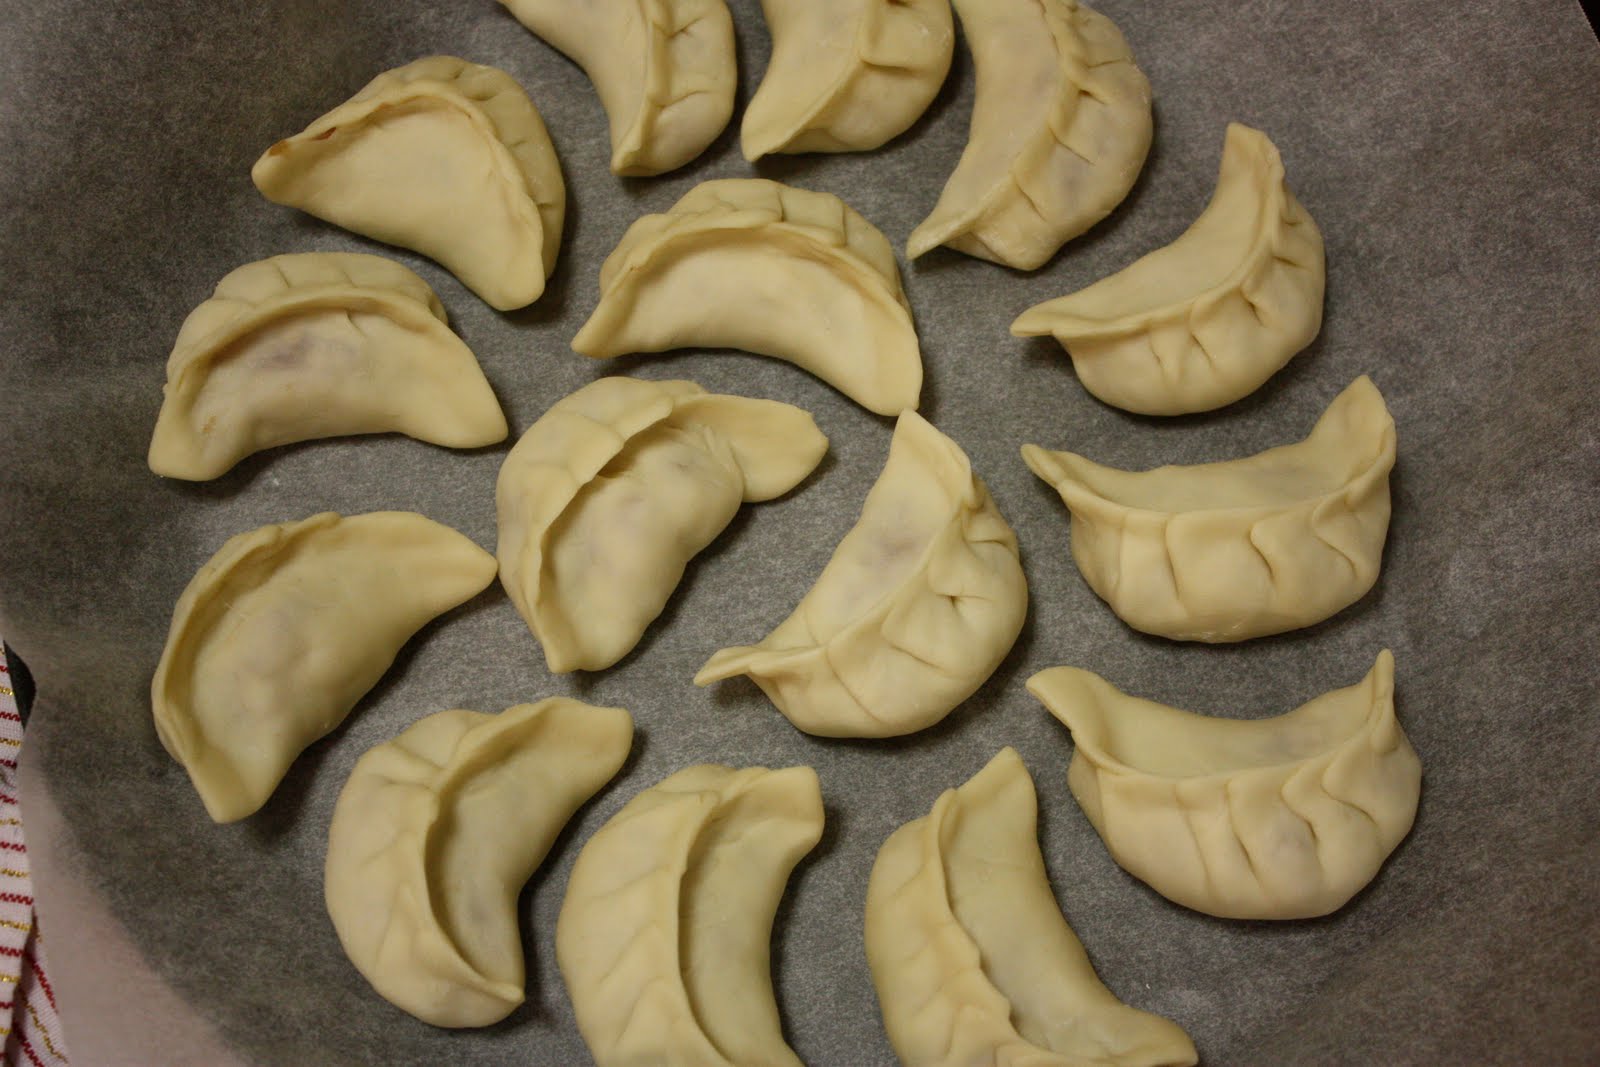
Fill the wrapper with the pork mixture and pleat the dumpling.  Place the finished dumpling on a tray lined with parchment paper.  Cover with a damp cloth so that they don't dry out.  At this stage you can cook them in a pot of boiling water for about 5 minutes or you can add them to a pan with oil and water to make pot stickers.  Alternatively, you can freeze them.  Serve with Chinkiang vinegar with slivers of ginger - enjoy.

If you have some left over pork filling, roll it into little balls and freeze them.  For a quick snack boil up some chicken stock with some finely diced coriander root and add the pork balls.  When the pork is nearly cooked add some choy sum and cook for another 1-2 minutes.  Serve with coriander leaves,  some finely sliced spring onion and a drizzle of sesame oil.

Rice Noodles with Beef & Soy Sauce

These noodles were my absolute favourite in Hong Kong and I think I make a pretty mean version of them.  A chef located at Causeway Bay has a reputation for making the best version of this dish, he uses pork fat in his recipe and so do I...

Ingredients:

2 small rib eye beef steaks (sliced finely)
3 cloves of garlic (chopped finely)
2 tblspn fresh ginger (chopped finely)
1 bunch of garlic chives (cut into 1 inch lengths)
pork fat (walnut size)
1 packet of fresh rice noodles (sliced thickly)
1 cup of oil (to blanch the beef)
1 tbsp oil extra

Marinade:
1 tsp bicarbonate soda
2 tsp water
2 tsp shao xing wine

Sauce:
3 tbsp light soy sauce
1 tbsp dark soy sauce
1 1/2 tbsp sugar
1/2 tsp chicken powder

1.  Marinate the beef in the marinade for 15 minutes.  Make sure that you dissolve the bicarb soda well in the water before adding it to the beef and mix thoroughly.  After 15 minutes pour the beef into a sieve to remove excess moisture then using one cup of oil, blanch the beef in the wok (on high heat) until it changes colour - remove.  Pour the oil through a strainer and either dispose or store for later use. Rinse the hot wok under running tap water and clean with a nylon brush then put it back on the wok burner for later use.

2.  Pour a few drops of dark soy sauce onto the fresh rice noodles (in a bowl) and mix thoroughly so that they become a lovely brown colour.

3.   Heat the wok on high until it smokes.  Add 1 tbsp cold oil (drizzled around the middle of the wok so that it runs down to the bottom) then add the chopped ginger and garlic.  Stir-fry a few seconds then add the strained beef back to the wok, add the garlic chives and stir-fry continuously until the garlic chives start to wilt.  At this stage, add the pork fat then the rice noodles.  Stir-fry until the noodles become soft and separate.

4.  Add the sauce and stir-fry until the noodles and beef are well coated.

Note: For the pork fat I went to my local butcher and asked for the fat that surrounds the kidneys.  This fat renders down to a liquid and imparts a smoky flavour to the dish.  Garlic chives and the fresh rice noodles are available from your local Asian grocery store. Below is a picture of the packet of fresh noodles that I used.