THE DAY BEFORE MAKE THE GANACHE:
1:1 ratio of couverture 53% bittersweet chocolate and cream. If using white chocolate, use a 2:1 ratio of chocolate to cream; for example, 200g white chocolate and 100g pouring cream (minimum 35% fat). If you want to be creative you can also add some fruit puree, tea or essence. Store it in the fridge then bring back to room temperature before you begin piping.
MACARON:
INGREDIENTS FOR THE TANT POUR TANT (TPT)
300g sifted TPT (150g almond meal with 150g icing sugar)
55g egg whites
(fresh)
INGREDIENTS FOR THE ITALIAN MERINGUE (IM)
150g caster sugar
37g water
55g egg whites (old egg whites aged 12-24 hours in a bowl on the kitchen bench)
Wilton gel paste food colouring
STEP 1. MAKE THE TPT
Mix the Tant Pour Tant (equal quantities of icing sugar and almond meal) with the fresh egg white until it forms a thick paste, cover with cling wrap and set aside.
STEP 2. MAKE THE IM
Pour your aged egg whites into a Kitchen Aid mixer and insert the whisk attachment. Note - If you couldn't be bothered with aged egg whites, replace with fresh egg whites and 1 gram of egg white powder.
Bring the caster sugar, water and food colouring to the boil in a small saucepan. When the sugar syrup reaches 115°C start whisking your aged egg whites into soft peaks. As soon as the syrup reaches 118°C slowly pour the syrup into the beaten egg whites in a thin stream. Continue whisking the IM in the Kitchen Aid until it reaches a temperature between 50-55°C.
STEP 3. COMBINE THE TPT & IM
With a spatula, fold one-third of the IM into the TPT and egg white paste and knock out some of the air in the batter. At this stage of the process you can be quite rough when handling.
Gently fold in the rest of the IM into the TPT and combine until you have the right texture (should be glossy and look like cake mixture). Be careful not to over-mix the batter here or it will get too runny and your shells may crack in the oven.
STEP 4. PIPE YOUR MACARON SHELLS
Fill a piping bag with the macaron batter and place some parchment paper over a baking sheet. Put four small dabs of macaron mix underneath the parchment paper in each corner to secure the paper. Pipe 3.5 - 4cm diameter circles onto the parchment paper, tap the tray on the work surface to remove air bubbles and leave to dry for about 15-20 minutes to form a crust and are dry to touch.
STEP 5. COOK YOUR MACARON SHELLS
Cook the macaron for 17 mins at 150°C (fan forced oven). To release steam, leave the oven door open slightly. If this doesn't work for you, keep experimenting until you find the right temperature as every oven is different. Once cooked, remove from the baking sheet and leave to cool on the parchment paper over a wire rack.
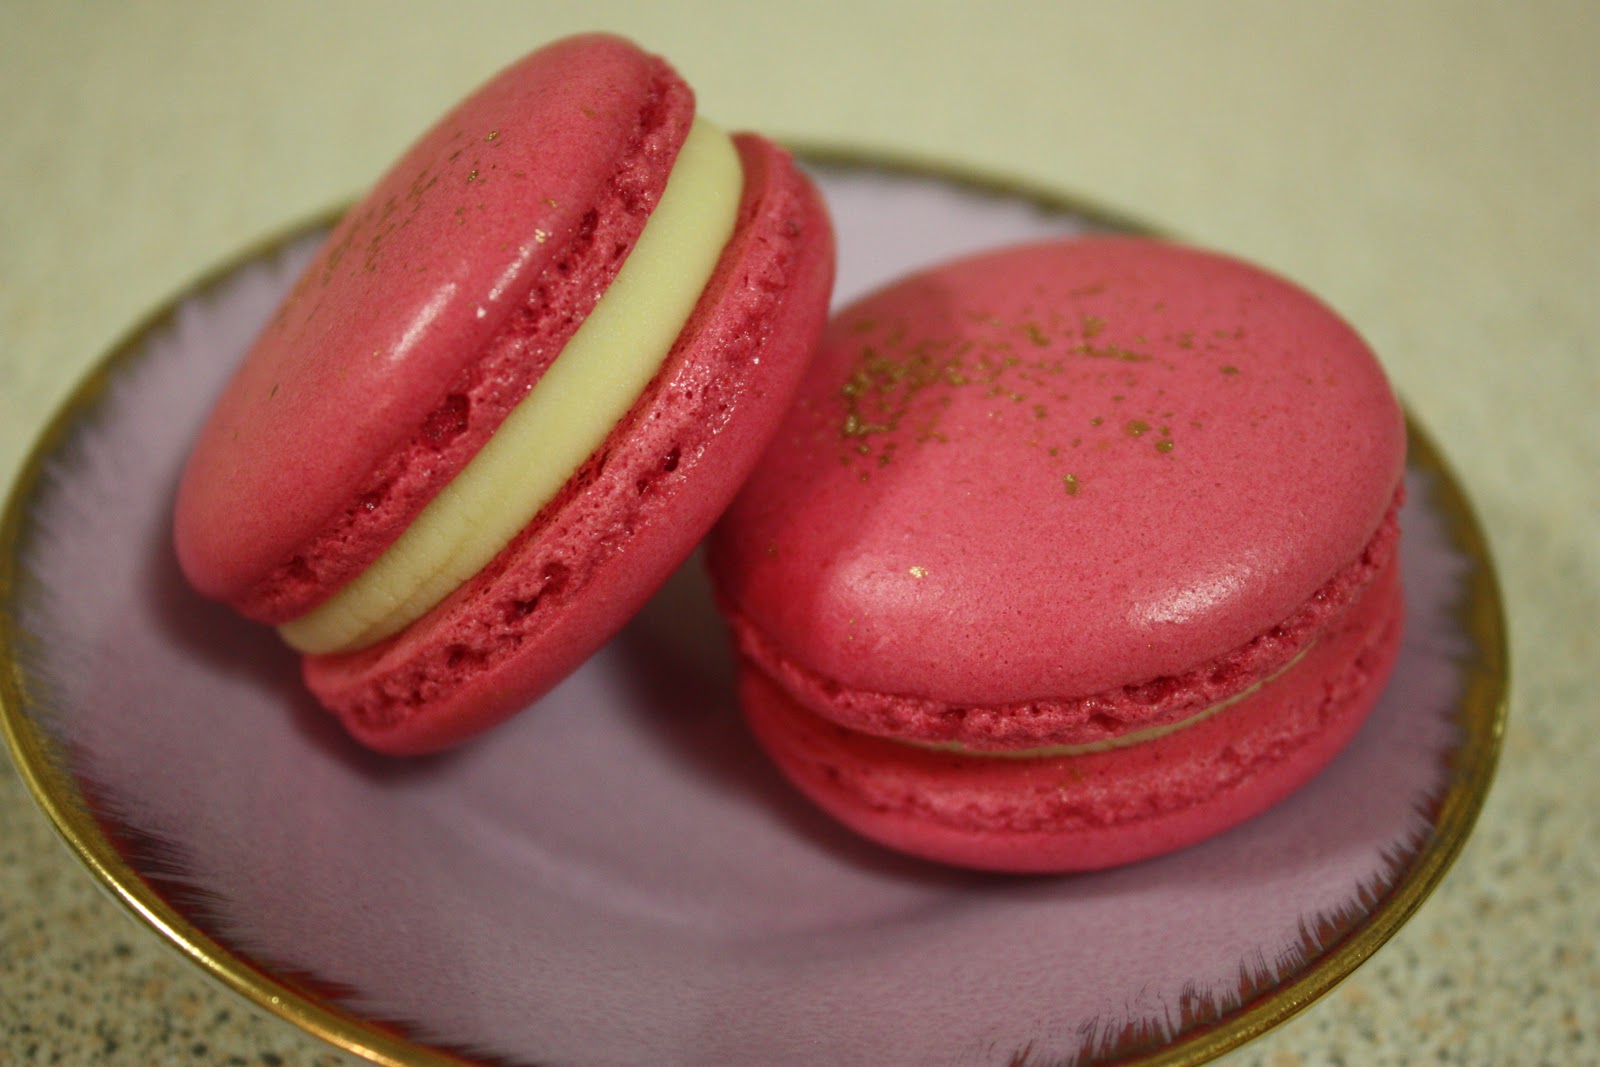
STEP 6. ASSEMBLE YOUR MACARON
Remove the shells from the parchment paper and pair like sizes together. Pipe a decent blob of ganache onto the shell, then place the lid on top and twist slightly so that the ganache flows out towards the edge of the macaron. When piping the ganache onto the shell always leave a small rim.
STEP 7. STORE YOUR MACARON
Store your macaron in the fridge for 24 hours prior to eating so that the humidity helps the ganache to soak into the shell and allow the flavours to develop. Try not to eat your macaron the day they are made as they are too dry. Allow the macaron to return to room temperature prior to serving.
Make sure you visit some of my posts in January to March 2011 as I've got step-by-step instructions in photo's.


