Showing posts with label Canberra. Show all posts

Wednesday, 29 May 2013

Fancy Rose Geranium Dainties

Fancy Rose Geranium Dainties
Ingredients
195g pure icing sugar
75g plain flour
155g almond meal
2 eggs
180g unsalted butter, melted gently
6 drops rose geranium essence

Preheat oven to 180 degrees celsius.  Grease a mini cupcake silicone mould in a fancy pattern with butter. Sift sugar, flour and almond meal into a bowl.  Make a well then add the egg, butter and essence. Combine.  Using a small palette knife fill the mini cupcake moulds with the batter. Bake for 20-25 minutes until golden.   Allow to cool in the silicone moulds before removing.  Simply dust your fancy dainties with icing sugar or drizzle with lemon icing.  Tip: don't overfill the moulds, make sure the  batter is level. If the cakes start to brown but still aren't cooked place some kitchen towel on top.

Icing
The juice of lemon (gently warmed in the microwave) mixed with sufficient icing sugar to drizzle over these little dainties. 

Sunday, 26 May 2013

Vintage Baking - Quince Honey from 1909 turns into Prince of Azerbaijan


It was a tad chilly this morning, minus 3 degrees celsius to be exact.  I could of easily pulled my duvet up over my head and had a bit of a sleep in but instead I decided to get up early and head off to the Farmer's market.  I giggled as I shut the front door as I'd managed to escape the house without the kids waking up.... woo hoo!   I don't often skip but today I did... all the way down our front path to the garage in fact.  Could I manage to get the car out and down the driveway without the piercing screams of little ogres?  You know, the ones that  magically turn into angels as soon as their heads hit the pillow.  My youngest gorgeous girl is watching me now as I type and as I read aloud word for word she starts to look at me in horror and starts to growl - oh no, I'm really scared as she looks like she's just about to turn into a werewolf!  Now, we're both in fits of giggles.  Where was I?  That's right, Quince Honey.  Sounds mysterious doesn't it. Quinces have been around forever and were plentiful at the market today so I bought a couple of kilos worth and decided to not only make a Quince Tagine for dinner and travel to Morocco (flying on the magic carpet under our dining room table of course) but to also attempt a vintage recipe that dates back to 1909 and earlier for Quince Honey.  Not one to always follow recipes I started out with this:

Quince Honey (1)
Ingredients. - 5 large quinces, 1 pint water, 5 lb. sugar.
Boil sugar and water well, then add the quinces, which have been grated. Boil 15 minutes.
Source: Home Cookery for Australia, Third Edition 1909

And, ended up with this:

Prince of Azerbaijan (Your genie in a Jar)
Ingredients. - 3 large quinces, 300 ml water, 1250 grams sugar, 1 teaspoon lemon zest, 1 tablespoon lemon juice, 1 tablespoon Monin Rose Syrup, 4 drops rose essence, 1 pinch citric acid
Boil sugar and water until it becomes a thick, clear sugar syrup (about 15 minutes).  Cut, core and grate the quinces.  Add the quinces, lemon juice, lemon zest, rose syrup and essence to the sugar syrup. Boil uncovered for about 15-20 minutes then add the citric acid.  Stir to combine then bottle into sterilised jars. 

Prince of Azerbaijan is the magic genie in your pantry... whenever, you need something a bit exotic remember to reach for this and you'll instantly be transported to magical faraway places.  If you can't afford to travel at least we can pretend.

Wednesday, 22 May 2013

Vintage Baking - Cockles from 1912


Cockles
Quarter of a pound of flour, 1/4 lb. cornflour, 1/4 lb. sugar, 1/4 lb. butter, 1 small teaspoon of baking powder, a pinch of salt.

Beat butter and sugar together; break in 2 eggs one by one; mix well, add other ingredients. 

Drop in small teaspoonfuls on a buttered tin, and bake in a quick oven.  Stick two together with jam.
Recipe from The Goulburn Cookery Book 1912 Edition
Tips and Conversions:
1/4 lb. equals 125 grams
Use 2 small eggs or 1 large egg (I used one large egg).
The mixture needs to be quite stiff.
Cook on 180 degrees celsius in a conventional oven for 15 minutes. 
I omitted the jam and flavoured my cockles with lavender and dusted them with icing sugar.
What started out as cockles, cockles by the sea shore ended up more like a walk in the English countryside picking narcissus.  As much as I love cockles, I think flowers look much prettier and I thought that it would be lovely for my gorgeous girls to open up their school lunch box tomorrow to find cute edible flowers that tasted of lavender.  I used a mini silicone narcissus cup cake mould.  For this recipe, small teaspoonfuls of batter should be put onto a flat baking tray.  The mixture spreads and you end up with cake type biscuits that look like cockle shells.  They are sometimes sandwiched together with jam.  My gorgeous girls decided that they didn't want the jam, these cake type biscuits are perfect just the way they are!

Sunday, 14 April 2013

Chairman Mao's Red Braised Pork


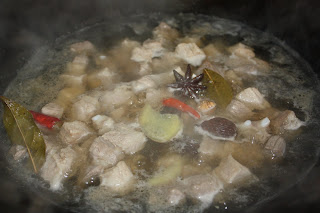
After reading Fuschia Dunlop's "Shark's Fin & Sichuan Pepper - A sweet-sour memoir of eating in China" whilst still living in Hong Kong, I enjoyed it so much that I went to my local wet market, bought a 2lb slab of pork belly, the required ingredients and hurried home to make Chairman Mao's Red-Braised Pork.

Upon arriving home, I went through the recipe again but decided that I'd experiment with the spices based on my knowledge of the local wet markets.  In addition to the star anise, red chillies and cassia bark used in Fuschia's recipe, I added 2 bay leaves, 2 pieces of sand ginger, 1 small piece of tangerine peel, 1 slice of dried licorice root, 1 clove and 3 white peppercorns. I also used brown slab sugar instead of white sugar with only a teaspoon of white sugar at the final stage of cooking and a drizzle of dark soy sauce for colour.  The end result was absolutely amazing! If you haven't read Fuschia's book I highly recommend it. To buy a copy of Fuschia's book click here.

Back in Australia, I find the pork belly is much thinner and fattier than the cuts I used to buy in Hong Kong.  Also, it's quite expensive.  I experimented by using a pork forequarter roast that cost $14 a kilo and it worked perfectly.

If you want to achieve that lovely deep red colour add some red fermented bean curd. This is the same ingredient that gives traditional Cantonese Cha Siu (BBQ Pork) its gorgeous red hue.
Chairman Mao's Red Braised Pork (without the water chestnuts)
Serves 4
500g/1 lb 2 oz belly pork (skin optional)
2 tbsp groundnut oil
2 tbsp white sugar
1 tbsp Shaoxing wine
20 g/3/4 oz fresh ginger, skin left on and sliced
1 star anise }
2 dried red chillies
a small piece cassia bark or cinnamon stick
light soy sauce
salt and sugar
a few lengths of spring onion greens
Plunge the belly pork into a pan of boiling water and simmer for 3 to 4 minutes until partially cooked. Remove, and when cool enough to handle, cut into bite-sized chunks. Heat the oil and sugar in a wok over a gentle flame until the sugar melts, then raise the heat and stir until the melted sugar turns a rich caramel brown. Add the pork and the Shaoxing wine. Add enough water to just cover the pork, along with the ginger, star anise, chillies and cassia. Bring to the boil, then turn down the heat and simmer for 40–50 minutes. Towards the end of the cooking time, turn up the heat to reduce the sauce and season with soy sauce, salt and a little sugar to taste. Add the spring onion greens just before serving.
From 'Revolutionary Chinese Cookbook' by Fuchsia Dunlop (Ebury Press)


Saturday, 13 April 2013

Homemade Cha Siu Bao (Steamed BBQ Pork Buns)

Homemade Cha Siu Bao (Steamed BBQ Pork Buns)

When I lived in Hong Kong I reckon I belonged to some exclusive dim sum society as I absolutely adored drinking delicate jasmine or a lovely Pu-er/ Bolay tea and snacking on the most amazing selection of delightful sweet and/or savoury treats you could ever imagine.  I loved visiting the Jumbo Floating Restaurant and Luk Yu Tea House but more often than not you would find me at my local haunt the Lin Heung Tea House at 160-164 Wellington Street Central.  This restaurant is one of the oldest tea houses in Hong Kong and one of the most busiest - without a 'gweilo' in sight - except for me.  I'd sit next to complete strangers on a little stool and would briskly walk over to the dim sum cart when it came out of the kitchen to see what was on offer.  My favourite savoury snacks included Cha Siu Bao, Beef Balls, Har Gow (Shrimp Dumpling), Cheung Fan (Rice Noodle) and Sui Mai.  

Before I left Hong Kong I made sure that I stocked up on some bilingual Cantonese cook books so that when I felt like a hit of dim sum I could pull one of them out with the hope of reproducing them.

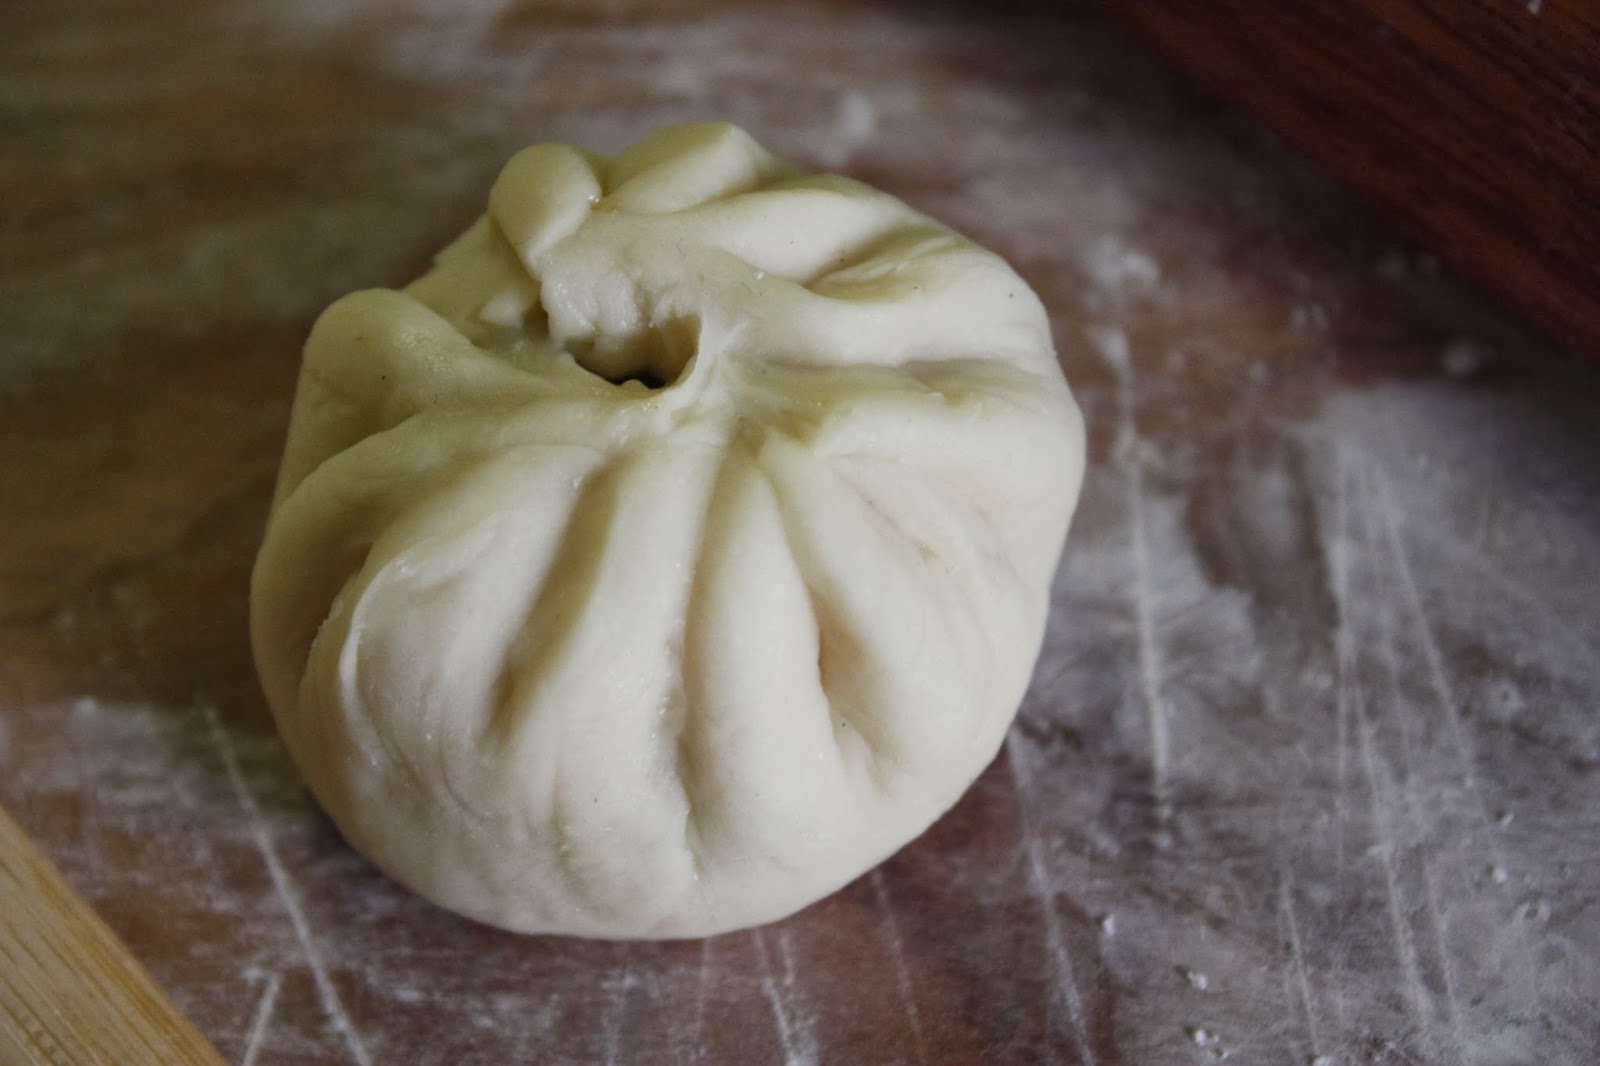
This weekend, I decided to make Cha Siu Bao from a book called "Chinese Buns".  As I read through the recipe however, I hit my first major problem - the bun dough includes two key ingredients that are next to impossible to buy on the Australian market i.e. lye water (an alkaline liquid that is extremely caustic) and ammonia bicarbonate.  These two ingredients are crucial to achieving a white, fluffy, springy dough and that amazing split when the bun is steamed, so although I was keen to make them I knew before I even started that it was impossible to get the same result that I was used to eating in Hong Kong - damn!

Two days before I started, I made a sour dough starter which I'll call the "1st Fermentation".  The next day I used some of this starter to make another sour dough "the 2nd Fermentation" and today I made the actual bun dough and the pork filling.  Although, I'm going to post photo's I'm not going to post a recipe just yet as I wasn't happy with how this one went.  I followed it to a 'T' with exception of the lye water and ammonia bicarbonate but there was far too much pork thickening and not enough dough.  So I've popped the pork filling/thickening into the freezer and will make another batch of dough some time in the future.  Next time I'm going to try fresh yeast with baking powder to see how that goes so watch this space. 
Just made - the 2nd Fermentation sour dough 
The 2nd Fermentation after about 24 hours
The Cha Siu Filling
Whilst I was making the Cha Siu Bao my youngest gorgeous girl was practicing how to make them by using a small ball of dough as the filling. 
My youngest gorgeous girl's very first attempt at making Cha Siu Bao after practicing with dough! 
My little dumpling princess in action.

Sunday, 7 April 2013

Chinese Style White Cut Poached Chicken

I've been very very bad, I know that I should have made dumplings of some sort this weekend for dearest Emily at http://emilycookingforays.blogspot.com.au but instead I made Chinese style white-cut poached chicken... sorry Em :(
Prepare the Chicken
Wash a corn fed chicken (preferably free range) in water inside and out and pat dry with paper towel. Remove the chicken fat from inside the cavity and place in a small stainless steel bowl.  Rub the following ingredients inside the chicken:

1 tablespoon ginger juice (grate the ginger and squeeze out the juice to obtain desired amount)
1 tablespoon shaoxing wine
1 teaspoon sugar
a pinch of white pepper

Bruise 1 spring onion and 3 slices ginger and also place this in the cavity.  Set both the chicken fat and the chicken aside.
This is how I make ginger juice 
Poaching Liquid
To a large stock pot add:

3.5 litres cold water

3/4 cup shaoxing wine
1 tablespoon light soy sauce
3 cloves garlic
4 slices ginger
2 spring onions
1 small lump yellow rock sugar (about the size of a teaspoon)
yellow rock sugar
Bring the poaching liquid to the boil then turn off the heat.  Add the chicken, breast-side down and make sure that it's fully submerged - put the lid on.  After 30 minutes turn the heat onto high and bring the poaching liquid back to a near boil.  During this time tilt the chicken whilst still in the poaching liquid to empty the cavity and re-fill it with the just near boiled poaching liquid to ensure that the insides cook through.  Turn the heat off again and pop the lid back on.  Leave the chicken in the poaching liquid for another 25-30 minutes then plunge the chicken into ice water to stop the cooking process and seal in the juices.
Drain the chicken and place onto a serving plate then rub the following ingredients all over the top:
1 tablespoon light soy sauce
1 teaspoon sesame oil
1/2 teaspoon salt  

Cover the chicken with aluminum foil and allow to cool.  Strain the poaching liquid and reserve for the chicken rice (below).  When the chicken is cool, remove from the plate and place onto a chopping board.  Section into small pieces then place back onto the serving plate. 


Rendered Chicken Fat
Sorry lovely ladies - not an attractive sight
After you place the chicken in the poaching liquid get to work with rendering the chicken fat so that it's ready about the same time your chicken is cooked.  You will use this fat and some of the poaching liquid to make chicken rice.

Bring some water to the boil in a small saucepan and place the small stainless steel bowl containing the chicken fat over the top.  Let it simmer away until the fat renders down - this can take up to an hour.  Remember to refill your saucepan periodically with boiling water from your jug so that the saucepan doesn't run dry! Discard any solid pieces of fat when done.

This chicken fat has been rendering down for about 20 minutes 
Chicken Rice
Pour a drizzle of the rendered chicken fat into a non stick pan and gently fry 1 clove crushed garlic and 1 slice finely minced ginger until golden.  Remove and set aside.

Pour the remaining rendered chicken fat into the non-stick pan and add 3 cups of jasmine rice.  Gently fry until the rice absorbs the chicken fat and the grains are slightly translucent.  Remove and pour the rice into a rice cooker.  Add the cooked garlic and ginger and 1/2 teaspoon chicken powder.  Pour enough of the strained poaching liquid into the rice cooker until it comes up to one joint on your index finger then follow your rice cooker instructions.  Cook the rice until light and fluffy.


Ginger Sauce
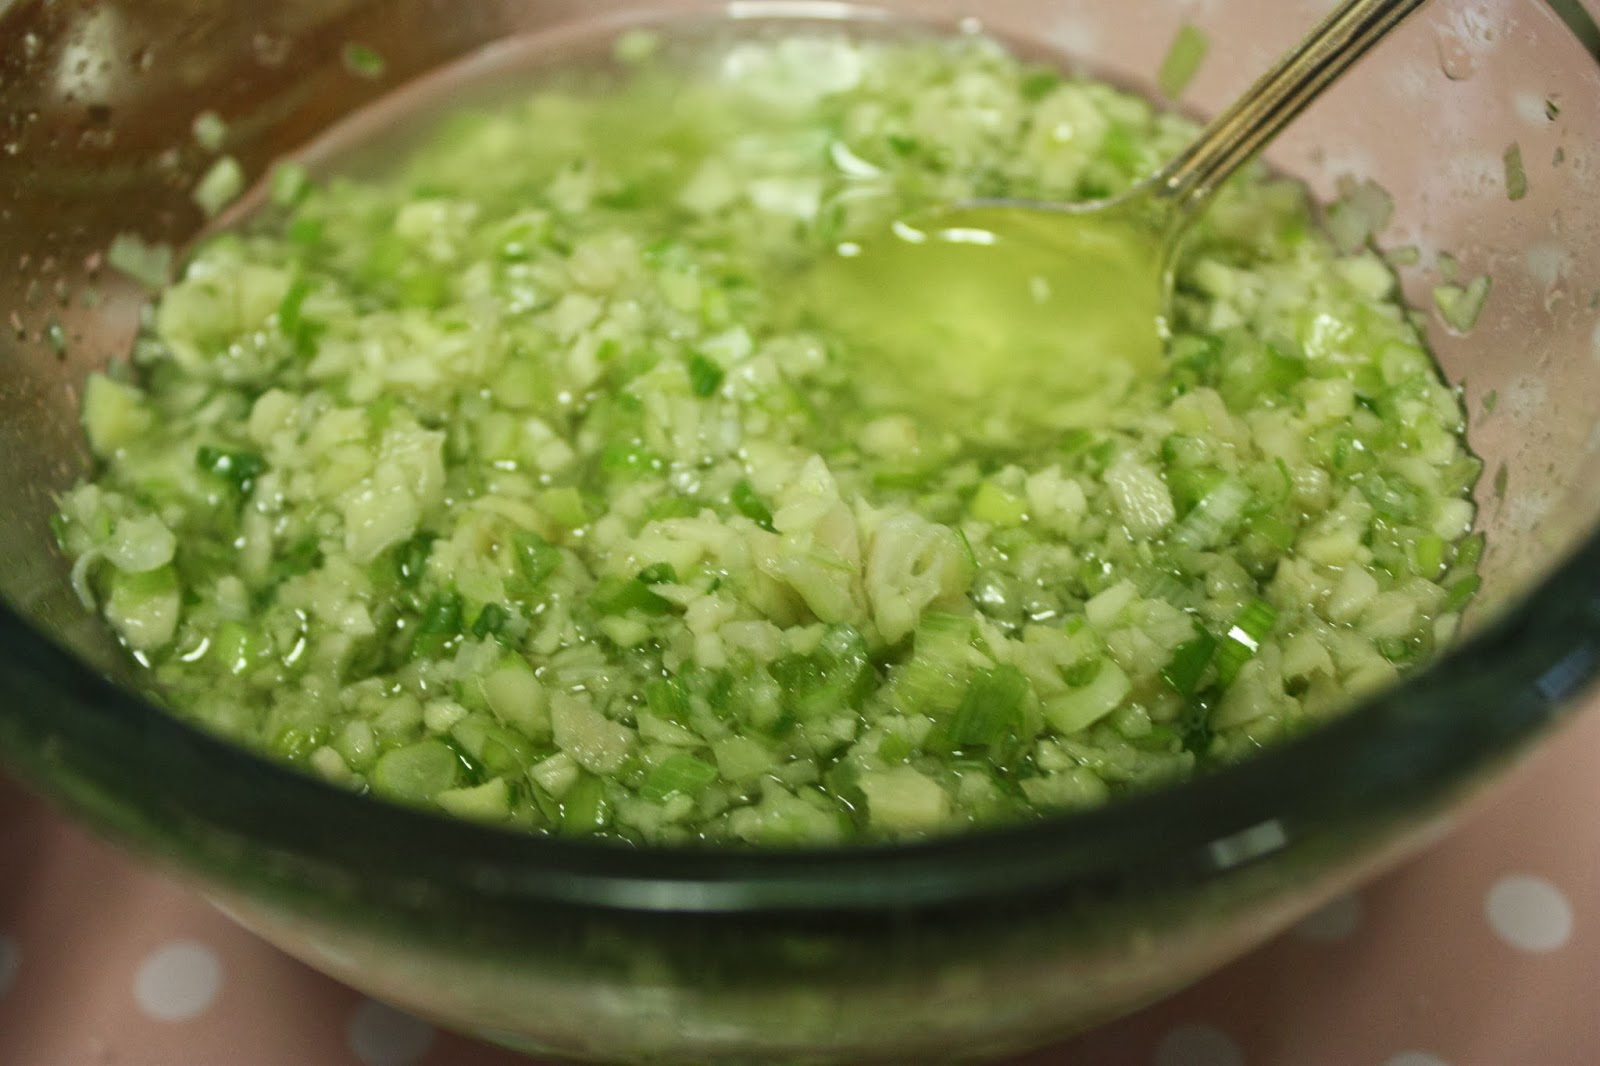
Place about 3/4 cup of finely chopped ginger and 3/4 cup of finely chopped spring onion into a small bowl.  Heat 3/4 cup peanut oil until sizzling then pour over the top of the ginger and spring onion.  Allow to cool.

Serve by placing the chicken rice into individual bowls, top with poached chicken and drizzle the ginger sauce over the top.  Add slices of cucumber (optional).  


I also served my poached chicken with a  chilli dipping sauce but I've only kept the recipe to the ginger sauce so that you don't have to make yet another recipe :)